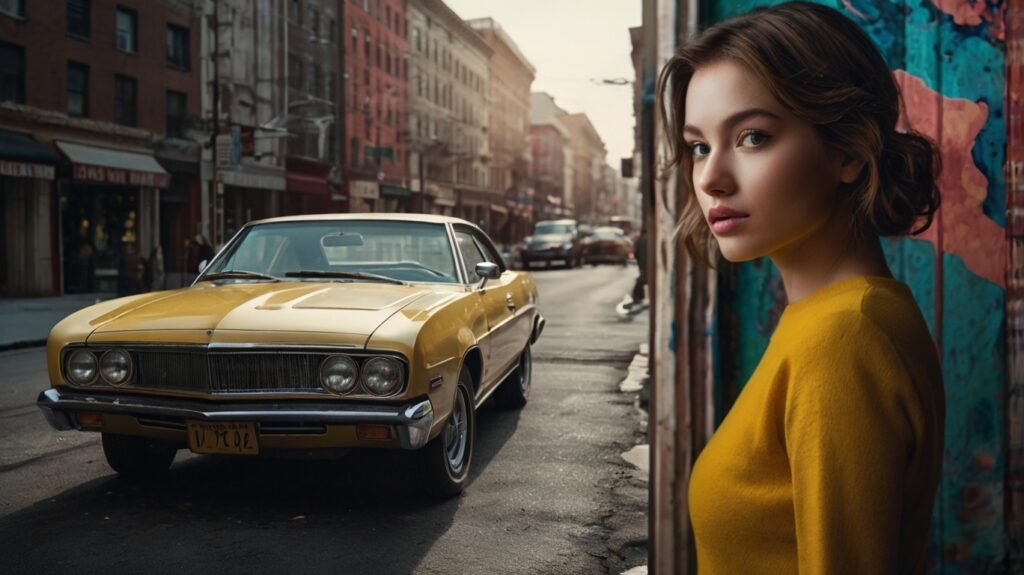
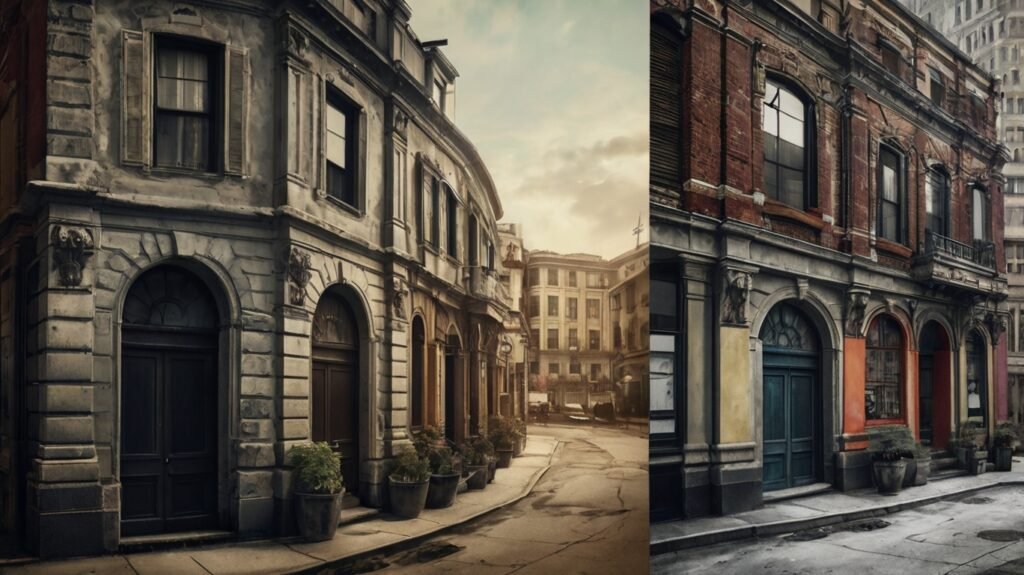
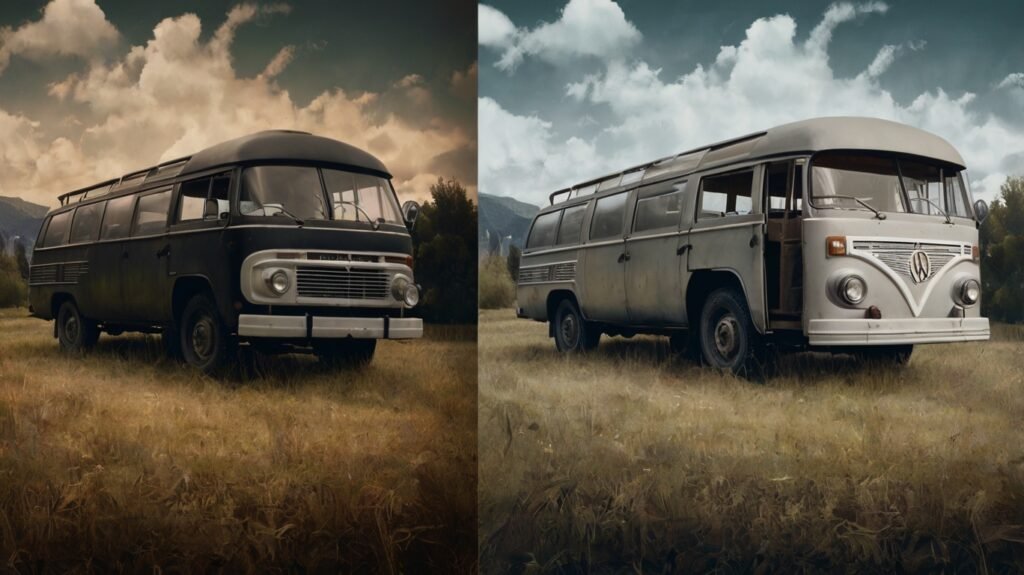
Are you struggling with giving new life to your old black and white photos? In today’s digital age, transforming monochrome images into vibrant, full-color masterpieces is easier than ever—and it’s a skill you can master with the right techniques. In this comprehensive guide, we’ll dive deep into How to Colorize Black and White Photos Like a Pro. You’ll learn about the history behind photo colorization, explore various tools and techniques, and discover step-by-step processes to achieve professional results. Whether you’re a seasoned photographer or an enthusiastic beginner, this guide is designed to help you breathe life into your treasured memories.
Table of Contents
ToggleTable of Contents
- Introduction: The Art and Science of Photo Colorization
- A Brief History of Photo Colorization
- Why Colorizing Black and White Photos Matters
- Essential Tools and Software for Photo Colorization
- Step-by-Step Guide: How to Colorize Black and White Photos Like a Pro
- Tips and Tricks from the Experts
- Common Mistakes and How to Avoid Them
- Future Trends in Photo Colorization
- Frequently Asked Questions (FAQ)
- Conclusion: Bring Your Memories to Life
- Leonardo Image Generator Prompt
Introduction: The Art and Science of Photo Colorization {#introduction}

Imagine holding a photo of your grandparents or a historic moment from decades ago—timeless images, yet missing the vivid colors that could bring them closer to life. How to Colorize Black and White Photos Like a Pro isn’t just a trendy topic; it’s a fascinating blend of art and technology. In this guide, we’re going to explore everything you need to know about transforming those grayscale memories into vibrant works of art.
By the end of this post, you’ll understand the historical context behind photo colorization, learn about the best software and tools, and master a detailed, step-by-step process that will have you colorizing photos with confidence. Let’s embark on this journey of rediscovery and creativity together.
A Brief History of Photo Colorization {#history}
Before digital editing tools became mainstream, colorizing black and white photos was a meticulous, hands-on process. Early pioneers would hand-paint images, layer by layer, to add life to the static scenes captured on film. While these methods were time-consuming and required exceptional artistic skill, they laid the foundation for the digital techniques we use today.
As technology advanced, the introduction of computers and sophisticated software changed the game. The early 2000s saw the rise of digital photo editing programs, and now, in the age of artificial intelligence, automated tools are making professional-level colorization accessible to everyone.
Why Colorizing Black and White Photos Matters {#importance}
Colorization does more than just add color—it bridges the gap between past and present, offering a fresh perspective on historical moments and personal memories. Here are some reasons why this art form continues to resonate:
- Preservation of History: Restoring color to old photos helps preserve cultural and familial histories, making them more relatable for future generations.
- Emotional Connection: Color can evoke emotions and memories more vividly than black and white, deepening the connection to the past.
- Enhanced Detail: Modern colorization can bring out details that may have been overlooked in monochrome, providing a richer visual experience.
- Artistic Expression: For many, the process is a creative outlet—a way to reinterpret history and add personal flair to cherished images.
Essential Tools and Software for Photo Colorization {#tools}
The market is brimming with tools and software designed to help you colorize photos, whether you’re an amateur or a seasoned professional. Here are some of the most popular options:
Professional Software
- Adobe Photoshop: The industry standard for photo editing, Photoshop offers extensive tools for manual and semi-automatic colorization.
- Corel Painter: Known for its artistic brushes and textures, it’s a great option for those looking to add a painterly touch.
- Affinity Photo: A cost-effective alternative with powerful features that rival Photoshop.
Free and Open-Source Options
- GIMP: A free and open-source alternative to Photoshop that supports various colorization techniques.
- Paint.NET: While simpler than Photoshop, it offers enough tools for beginners to experiment with colorization.
AI-Based Tools
- DeOldify: An open-source AI tool specifically designed for colorizing black and white photos. It uses deep learning to predict the natural colors of historical images.
- Algorithmia’s Colorize Photos: A web-based application that leverages AI to add color to your old photos with minimal input.
Each tool has its strengths, and the best choice depends on your skill level and the desired outcome. For those just starting out, free or AI-powered tools can be a great way to experiment before investing in more advanced software.
Step-by-Step Guide: How to Colorize Black and White Photos Like a Pro {#stepbystep}
Now that you’re familiar with the tools available, let’s walk through a detailed process to colorize your photos like a professional. Follow these steps to ensure your colorization project is both effective and enjoyable:
1. Prepare Your Photo
- Select a High-Quality Image: Start with a clear, high-resolution black and white photo. The better the quality, the more detail you’ll be able to work with.
- Clean Up the Image: Use basic editing tools to remove dust, scratches, and any other imperfections. This step creates a solid foundation for your color work.
- Adjust Contrast and Brightness: Enhancing these settings can help bring out details that might be lost in the conversion process.
2. Choose Your Colorization Method
- Manual vs. Automated: Decide whether you want to colorize manually (which offers complete control) or use automated tools (which are quicker and often surprisingly accurate).
- Hybrid Approach: Many professionals start with an AI-based tool to generate a rough colorization, then refine the details manually using software like Photoshop.
3. Establish a Color Palette
- Research Historical Context: Look up reference photos from the era of your image to get an idea of authentic color schemes.
- Create a Color Swatch: Build a palette of colors that suit the mood and period of the photo. Tools like Adobe Color can help you generate complementary colors.
- Test Colors: Experiment with different hues on a copy of your image to see what works best before applying them to the main photo.
4. Start the Colorization Process
- Layer Your Colors: Work in layers to keep your adjustments non-destructive. Start with broad areas of color and gradually work on finer details.
- Use Selection Tools: Tools like the lasso or pen tool in Photoshop allow you to isolate specific parts of the image (such as skin, clothing, or background elements) for precise color application.
- Blend and Adjust: Use blending modes, opacity adjustments, and masks to seamlessly merge your color layers with the original grayscale image.
5. Refine and Finalize
- Add Depth and Shadows: To achieve a realistic look, pay attention to light and shadow. Use dodge and burn tools to enhance the three-dimensionality of the image.
- Fine-Tune Details: Zoom in to work on intricate areas like facial features or textures. A small brush size and a steady hand can make a big difference.
- Review and Compare: Step back and compare your progress with the original photo. Make adjustments as necessary to maintain a balance between color vibrancy and authenticity.
6. Save and Share Your Work
- Export in High Resolution: Ensure your final image is saved in a high-resolution format to preserve quality.
- Back Up Your Files: Always keep a copy of both the original and edited versions for future reference.
- Share Online: Post your work on photography forums or social media platforms to get feedback and inspire others.
Tips and Tricks from the Experts {#tips}
Achieving professional-level results in photo colorization takes practice and attention to detail. Here are some expert tips to elevate your work:

- Practice Patience: Colorization is as much about precision as it is about creativity. Take your time to get the colors just right.
- Utilize Layers Extensively: Keeping different color elements on separate layers allows for easy adjustments and experimentation without ruining the entire image.
- Learn Keyboard Shortcuts: Familiarize yourself with shortcuts in your chosen software to speed up your workflow.
- Join Online Communities: Platforms like Reddit’s r/Colorization and photography forums can offer valuable feedback and new techniques.
- Stay Updated with Technology: AI tools and digital software are continuously evolving. Experiment with new updates and features to stay ahead of the curve.
- Keep a Reference Archive: Maintain a collection of reference images from various eras to guide your color choices and ensure historical accuracy.
Common Mistakes and How to Avoid Them {#mistakes}
Even seasoned professionals can stumble when colorizing photos. Here are some common pitfalls and strategies to prevent them:
- Over-Saturation: Applying too much color can make an image look unnatural. Start with a lower saturation and gradually build up intensity.
- Ignoring Lighting and Shadows: Failing to account for light sources can result in flat, unrealistic images. Always consider where the light falls in your original photo.
- Lack of Research: Without understanding the historical context, you risk choosing colors that don’t match the era. Do your homework before you begin.
- Using a One-Size-Fits-All Approach: Every photo is unique. What works for one image might not work for another. Be flexible and adjust your techniques based on the individual photo.
- Skipping the Refinement Stage: Rushing through the final adjustments can leave your work looking unfinished. Take the time to review and tweak every detail.
By being aware of these common mistakes and taking proactive measures, you can ensure that your colorization efforts yield natural, believable results.
Future Trends in Photo Colorization {#future}
As technology continues to evolve, the art of photo colorization is becoming more sophisticated. Here are some trends to watch:
- Enhanced AI Accuracy: Future AI tools are expected to predict colors even more accurately, reducing the need for manual corrections.
- Real-Time Colorization: With faster processing power, real-time colorization during video playback or live presentations could become a reality.
- Augmented Reality Integration: Imagine viewing historical sites or personal photos through AR glasses, where colorized images blend seamlessly with the real world.
- Collaborative Platforms: Cloud-based collaborative platforms may emerge, allowing artists to work together on colorizing large archives of historical images.
- Personalized Filters: Expect to see more user-friendly apps that offer customizable filters, letting you choose between a historically accurate restoration or a modern artistic reinterpretation.
These emerging trends not only promise to simplify the process further but also open new creative avenues for photographers and historians alike.
Frequently Asked Questions (FAQ) {#faq}
How do I get started with colorizing black and white photos?
Getting started is easier than you might think. Begin by selecting a high-quality photo and cleaning it up using basic editing tools. Then, choose whether you want to experiment with automated AI tools or dive into manual colorization using software like Adobe Photoshop. The key is to practice and experiment with different techniques until you find a method that suits your style.
Which software is best for photo colorization?
There isn’t a one-size-fits-all answer. Professionals often prefer Adobe Photoshop for its versatility, while beginners might start with free tools like GIMP or AI-based applications like DeOldify. It depends on your comfort level and the complexity of the project. Many artists use a hybrid approach, starting with AI for rough colorization and then refining details manually.
How long does it take to colorize a photo like a professional?
The time required varies based on the complexity of the photo and the level of detail you wish to achieve. A simple portrait might take a few hours, whereas a highly detailed historical scene could take several days of meticulous work. Patience and practice are key—over time, you’ll develop your own workflow that speeds up the process.
Can I achieve realistic results using AI-based colorization tools?
Yes, AI-based tools have come a long way and can produce surprisingly realistic results. However, for the most authentic and refined outcome, it’s often beneficial to combine AI-generated colorization with manual tweaks. This hybrid method leverages the speed of AI and the nuanced touch of a skilled artist.
What are the key steps to ensure natural-looking colors?
To achieve natural-looking colors, it’s essential to:
- Use reference images from the photo’s era.
- Work in layers to fine-tune adjustments.
- Pay close attention to lighting and shadows.
- Gradually build up saturation and color intensity. These steps help maintain the integrity of the original image while adding a realistic color palette.
Are there any online communities or resources to learn more about photo colorization?
Absolutely. There are vibrant online communities such as Reddit’s r/Colorization, various Facebook groups, and dedicated photography forums where professionals and enthusiasts share tips, tutorials, and feedback. Participating in these communities can provide invaluable insights and inspiration.
How can I ensure my colorized photos are historically accurate?
Historical accuracy is achieved by thorough research. Look for period-specific photographs, consult history books, or use museum archives as references. Additionally, reading articles from reputable sources and following guidelines from historical preservation societies can greatly enhance the authenticity of your work.
What should I do if I encounter difficulties during the colorization process?
If you run into challenges, don’t hesitate to seek help. Many online tutorials, video guides, and forums are available where experienced colorizers share their troubleshooting tips. Sometimes, stepping away from your work for a short break and returning with fresh eyes can also help you spot areas for improvement.
Conclusion: Bring Your Memories to Life {#conclusion}
Learning How to Colorize Black and White Photos Like a Pro opens up a world of creative possibilities. Not only does this skill allow you to preserve and revitalize your family’s history, but it also serves as an engaging art form that connects us with the past. From choosing the right tools and understanding the historical context to meticulously applying color and refining details, each step in the process is a blend of science and artistry.
As you embark on your colorization journey, remember that every photo tells a unique story—one that can be enriched with the vibrancy of color. Embrace experimentation, be patient with the learning process, and most importantly, have fun transforming your cherished memories. Start implementing these tips today and watch as your black and white photos come to life in stunning, true-to-life colors.
Ready to transform your grayscale memories into colorful masterpieces? Explore the tools, join online communities, and immerse yourself in this fascinating craft. Your journey into the world of photo colorization is just beginning!
